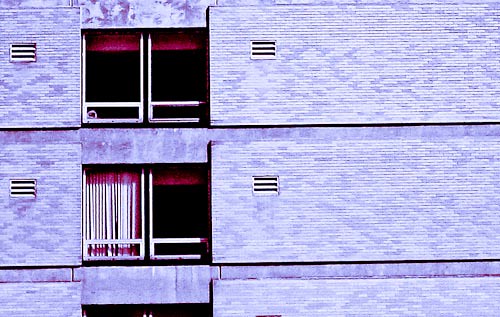
Split toning originated with film photography but like most things can now be done digitally. As with other toning processes it works based on a black and white version of the photograph it is being used on. The tone (shade of gray) determines how much color is added back. In the case of split tone the initial tone also determines which color is added back.
Crossposted on my blog Split Toning | Minimalist Photography 101
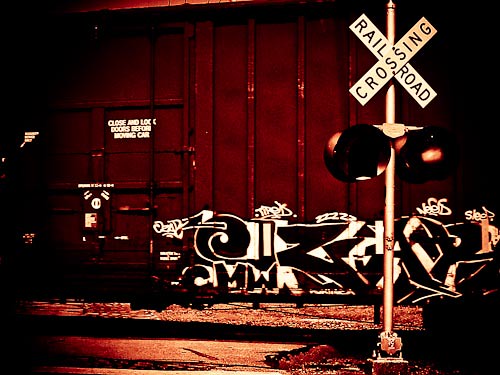
Sepia and cyanotype are both examples of film toning processes. The first became popular because it provided good stability to the photograph, much better than the black and white process. Cyanotype became popular due to the process's cheapness and consequently became the toning process used for blueprints.
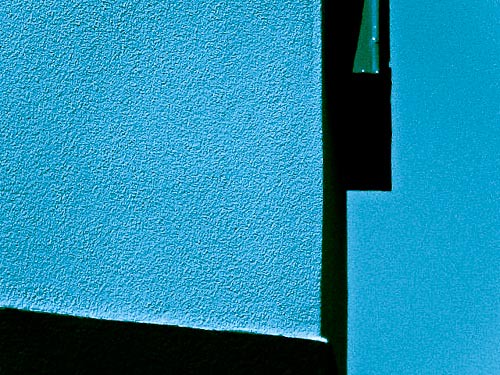
The editing of these images was done in Adobe Lightroom 3 using its split tone filter. The process couldn't be more simple. Colors and their respective saturation levels are selected for both highlights and shadows. The balance between the two is also set which determines the dominance of either color. A lot of trial and error is involved as I'm finding the process hard to predict.
Adding black and playing around with the clarity slider can dramatically affect the output image. Perhaps the most interesting controls though, in this context, are the vignette ones. I found that setting the feathering up to maximum gave the most interesting results.
I have never even played with split toning before. To be honest I've always regarded it as a little gimmicky. I've tended to regard any alterations using shades of gray as within bounds with regard to black and white. Likewise with saturation or luminosity in the case of color. Changing the hue or adding an artificial color digitally always seemed a little cheap. I know, irony and contradictions in my thinking abound!
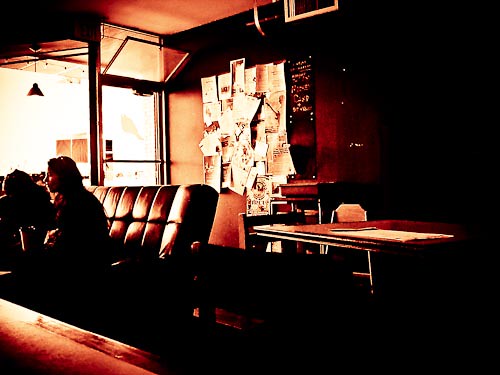
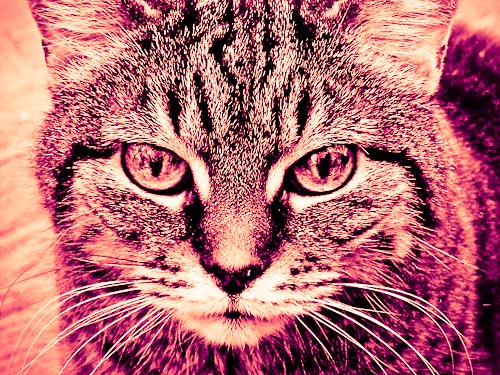
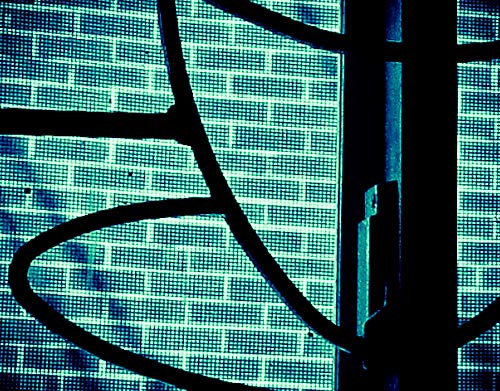
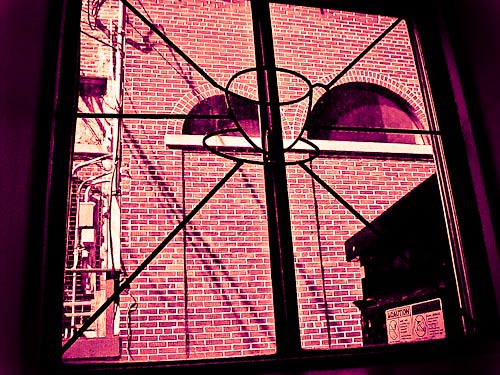
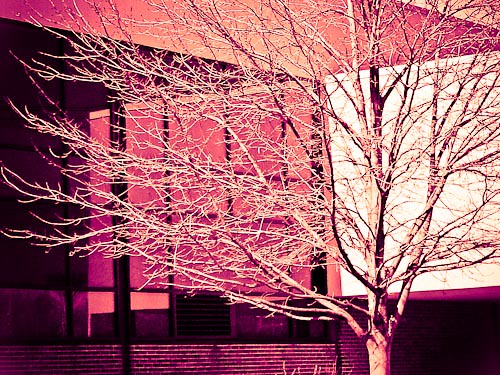
These photographs were all taken within the last few days. They were not shot with split or any other type of toning in mind. Many were shot out of a moving car or in other less than ideal circumstance so I had the camera set on its real point and shoot setting (not the factory default).
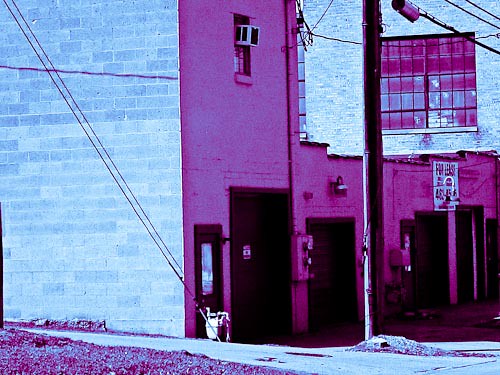
I am a convert. After just scratching the surface I now see a lot of possibilities that I did not see before. I have always argued on the side that says a photography doesn't just take pictures, he makes them. What happens on the computer is every bit as important as what happens through the camera lens. Ultimately it all comes down to recognition and resonance - something in the process triggering something in the imagemakers brain that says simply and without intellectual overlay;
'This works'.


Useful Links:
Split Toning
If you are into process or film photography this really is a must read. Jonathan Bailey is the best photographer/photography writer that I have come across.
Photographic print toning - Wikipedia Of course split toning is only one specific type of toning. Here is an overview of toning, again pertaining mainly to film, the current tacked on digital toning sentence is all but useless.
http://www.digital-photography-school.com/...
I don't know about amazing but others will differ. A short piece that will definitely be useful for those that want to give the technique a try.
