Good morning and welcome to Saturday Morning Home Repair Blogging.
SMHRB is where we gather every Saturday morning to share frustrations, questions, possible solutions, and general wisdom about keeping our dwellings in good shape. Everyone is welcome and you should feel free to ask questions. Hopefully, the collective expertise here can help you out with your own projects. I'm Milly Watt, serving as guest host for today's edition. While the SMHRB crowd includes many expert professionals and skilled DIY'ers, I fall into the "determined amateur" category.
Today's SMHRB might be entitled "Between a Rock and a Muddy Place".
When our house was finally built, we were left with a long stretch of construction site mud to traverse between the driveway and our front door. So a walkway was our first DIY project.
The first step was to learn something about working with rocks. We found two useful books for stone projects: Stone Primer by Charles McRaven and Landscaping with Stone by Pat Sagui. The first one focuses more on working with stone as a material and it's clear that the author is somewhat of a perfectionist. The second one has lots of inspirational landscape photos.
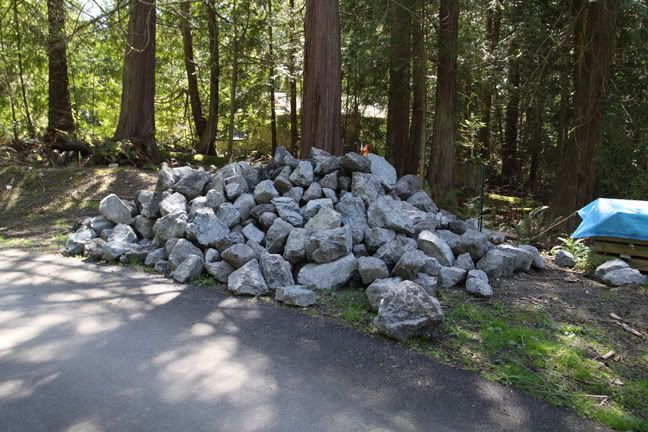
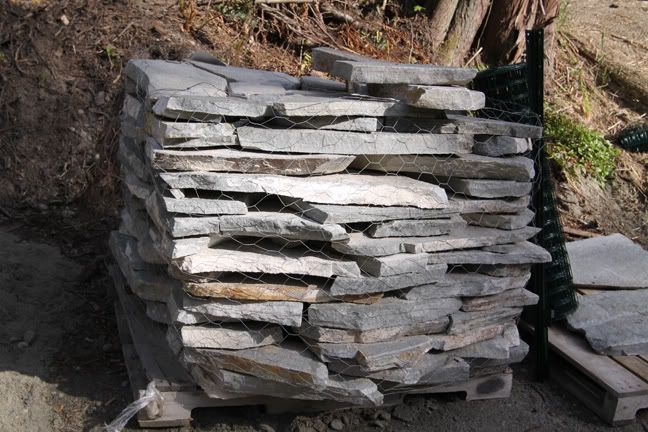
We went to our local rock store, wandered around looking at all the samples, and picked out a "sage green" flagstone that is grey with a hint of green. Here in the Pacific NorthWet, everything eventually turns greenish so why fight it? We arranged for delivery of a stack of flagstones plus a bunch of larger, hand-picked stones for steps. We used about 2.5 tons of flagstone and 2 yards of builder's sand. That was for a walkway that was to be roughly 70 feet long and 3 feet wide.
With the pallet, you get all sorts of shapes and sizes.
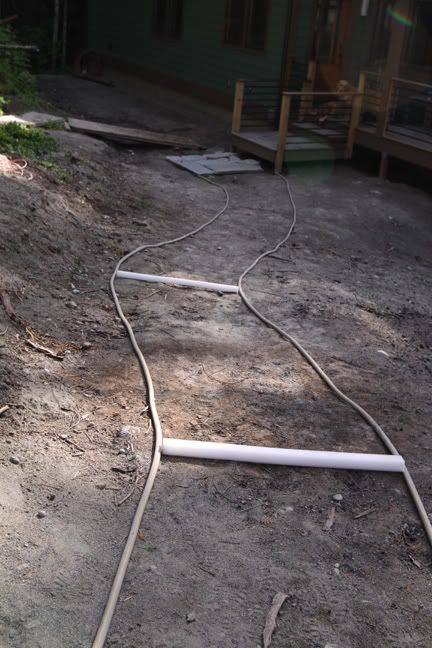
We laid out the future walkway on the ground with hoses to get graceful curves. Once we were satisfied with the way it looked from all angles (from the front deck, from the driveway, from the parking spot, and looking down from the 2nd floor windows), we used ground marking paint and stakes along those lines.
The next problem was to piece together the randomly-shaped rocks inside those lines. We quickly discovered what would not work. During our first back-breaking afternoon, we tried an approach where Mr. Watt would pick up a heavy flagstone, put it into a potential spot, and then I'd say "No, that rock doesn't work here. How about over there?" After moving a 100 lb rock a few times, it became clear that we needed to find some other way!
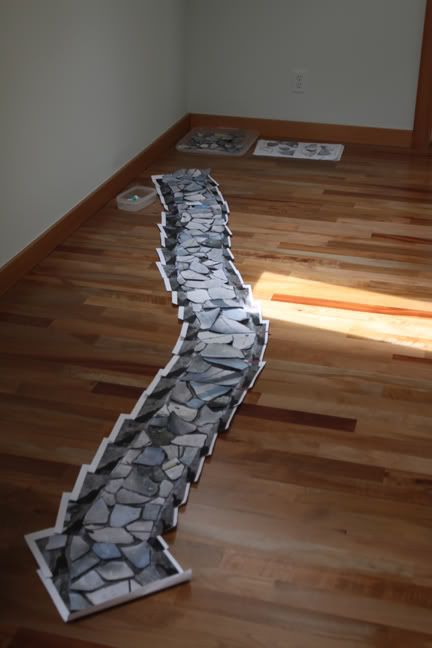
So we came up with the idea of making a model on paper first. We laid out all the rocks from the bundle, scattering them all over the front yard and numbering them. I took photos from a fixed height above them with my tripod so they would be at the same scale. Then we printed out the photos and cut out our individual rock puzzle pieces.
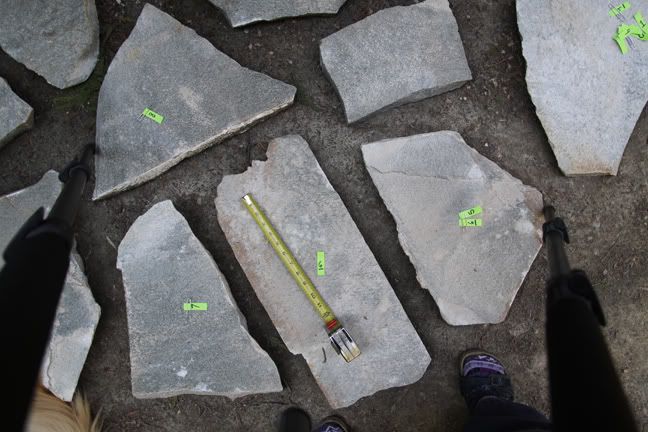
I came up with a design on paper using removable glue to keep them in place while I worked. There was a lot of trial and error, but moving little pieces of paper was much better than moving rocks.
An alternative that Mr. Watt might have preferred would have been to write some software to lay out the randomly shaped stones, market it ("Flagstone Walk Designer App"), make a ton of money on it, and then use the proceeds to hire a stone mason. The paper approach was faster.
Then we followed our map, locating the numbered rocks and laying them out on the ground in their designated spots. There were a few cases when the actual rock turned out to not work as well as it looked like it should on paper, but it was mostly successful at reducing number of times rocks had to be moved.
Here's the first run of stones, laid out before leveling.
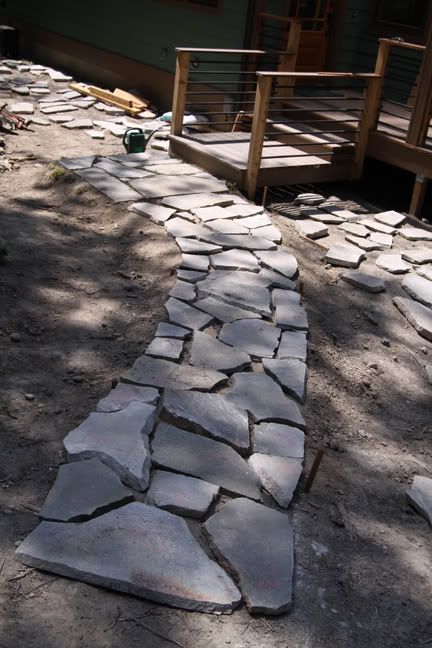
It's all bedded in builder's sand. Areas with a freeze/thaw cycle might need more substantial base preparation, but this works here. The walk slopes at a rate of about a quarter of an inch per foot side to side for drainage to avoid our famous PNW rain from cascading down the walk and pooling in puddles.
The steps are dry stacked. The steps have a uniform 6 3/4" rise and 30" tread. Here's a picture of the 5 steps.
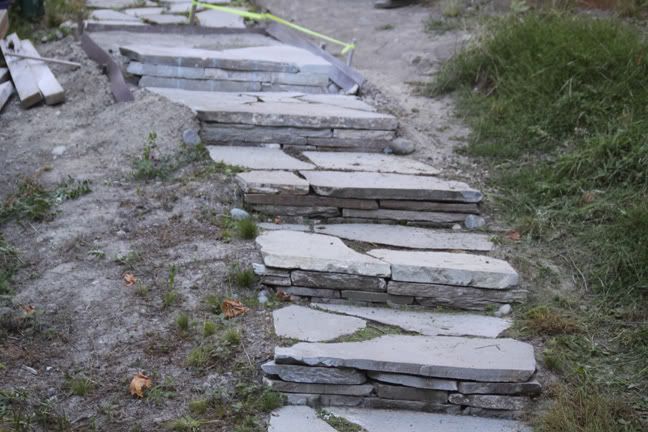
We got better at it as we gained experience and step number 5 looks a lot better than the step number 1. The change in the steps going up the walk was in part an evolution in our approach to shaping the supporting stones. The stones under the first step were selected to fit without much modification. By the time we got to the upper step, we were using a diamond saw to cut them to width and a diamond grinding wheel to shape them to the correct thickness. All the steps are flat and stable.
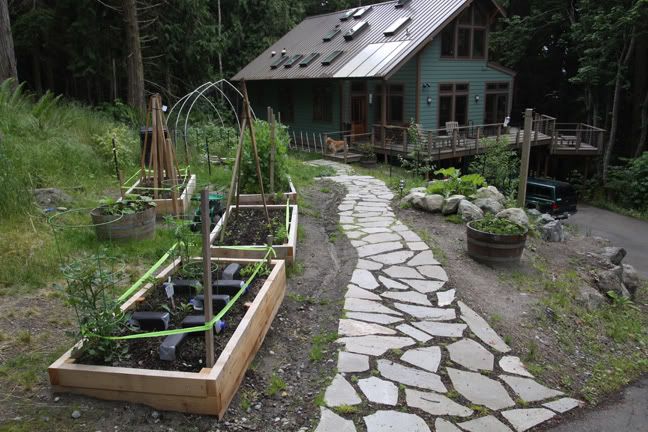
And here's the finished walkway, from a couple of vantage points. I've planted step-upon herbs like Elfin Thyme and Corsican Mint in the cracks and Beach Strawberry along the edge.
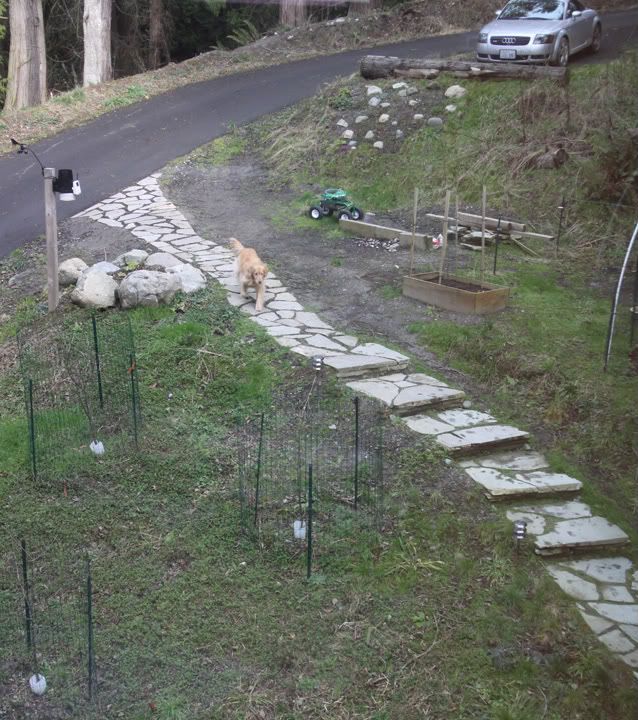
Our current rock project is terracing the steep front yard (to the right of the walk in the last photo). I'll leave a discussion of that for another diary someday. But here's a preview - the 15 tons of basalt that I bought Mr. Watt for his birthday last year.