Welcome again to Saturday Morning Home Repair blogging, where we talk about fixing houses, the things in them that are supposed to work for us, and fixing them up. An ad hoc cadre of building professionals and gifted amateurs attempt to answer questions that arise from readers, and offer encouragement and advice for those inclined to do things for themselves, if they can. We all do a lot of things, collectively, and can probably help out with insights from our vast experience.
Or sometimes, we just gab.
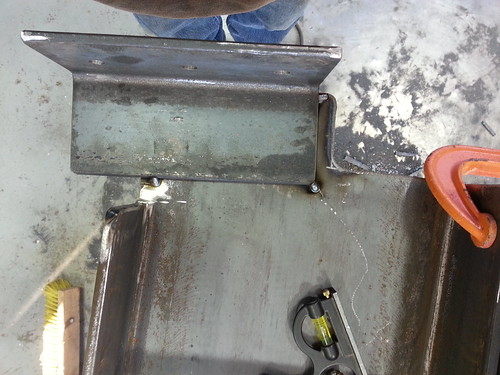
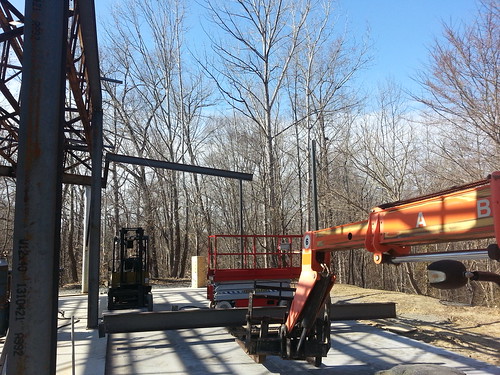
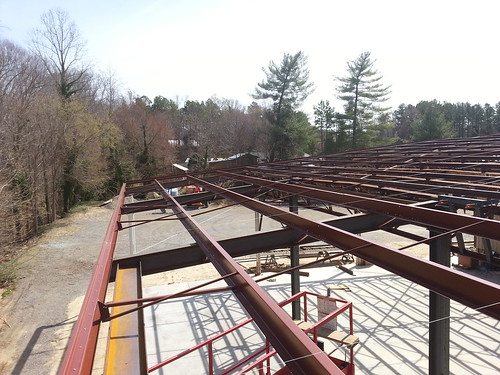
So my last post on the shop addition left you here
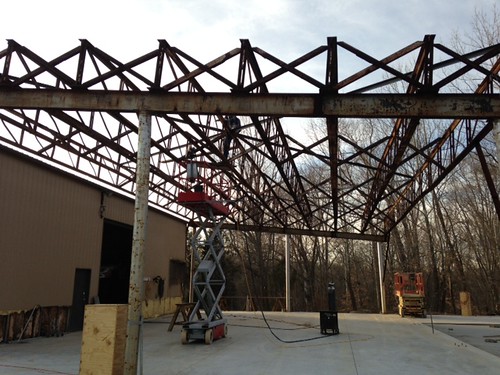
I was welding in the 2 X bracing.
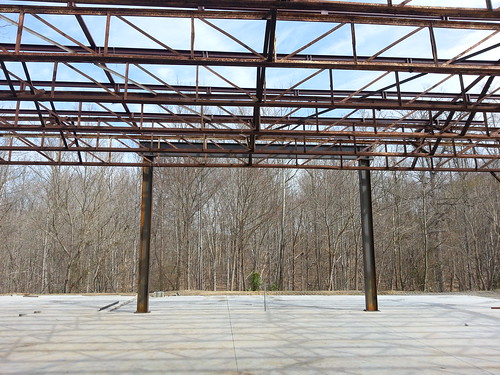
well it's moved along nicely since then.
The retro of the roof made it easy from me in some cases.
The plans had called for 18 pieces of 4" x 3" angle to go between the end of those trusses to connect the top of the stud wall to the structure. Because they retro was going to leave room I just put it on top. of those trusses.
next step for me was to fabricate the beams. I should have waited till the roofers started & ask more questions. But I didn't. But we made it thru that ok.
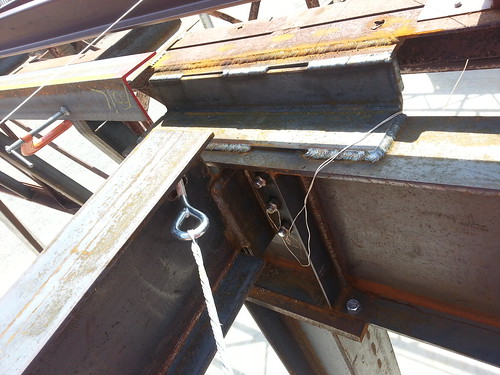
what happened was the roofer didn't put the 4" z purlin right on the angle in the middle of the truss. he left 1 1/2" gap. Then the plans were changed & the z purlin on the beams was changed to 8" from 9" in the prints I had. that is 2 1/2" that got robbed from me. I cut the beams before they started. I made a mistake when I started in not checking the both ends & squaring them up. so I lost another 1/2" getting that right.
that picture shows me explaining to the engineer what happened.
turned out not to be a problem. He changed a drawing to this.
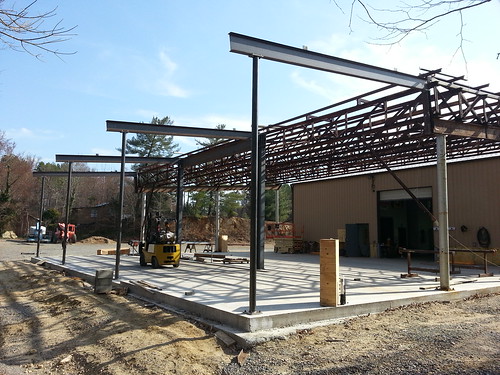
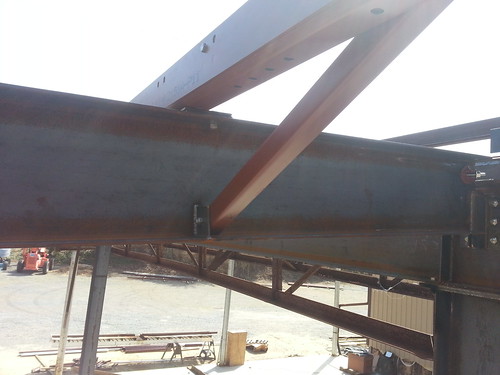
these 3 beams hold the extended building up.
this is how the outside two beams connect.
then the post needed to be fabricated.
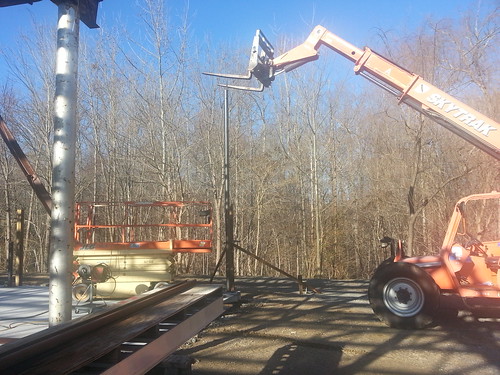
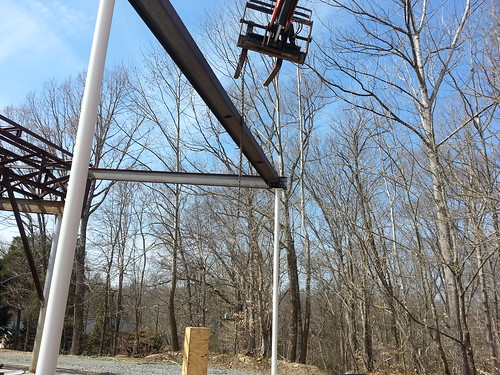
then it was time to get those beams up.
I got them in place & drilled 2 of the holes 1/2" & put temp bolts in.
then a few days later I drilled them 3/4"

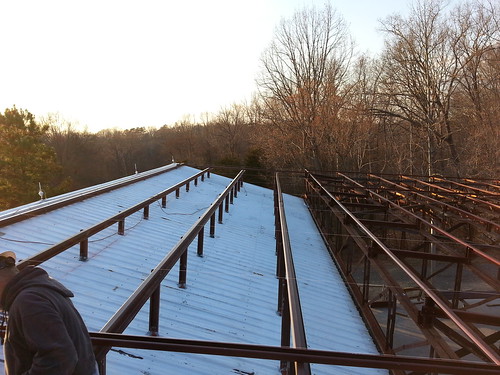
the roofers are getting their part done also.
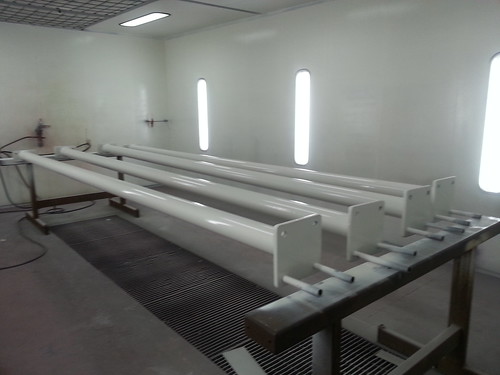
then I took the beams down to weld & cut them to length.
I also got the post painted. There is a paint booth in one of the building on Windy Rd.
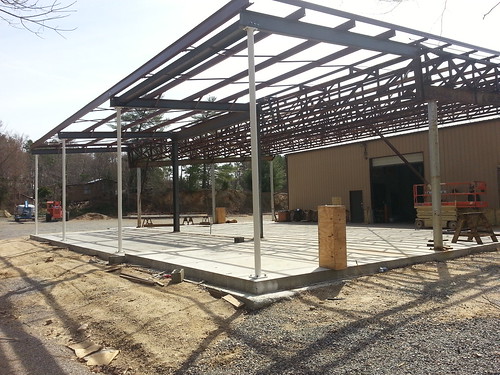
stood it all back up.

put this last beam in to hold the top of a wall !
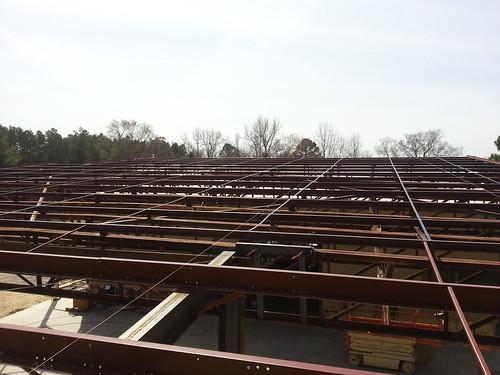
Next they put the outer purlin that I can't remember the name of.

then the 3 center purlins
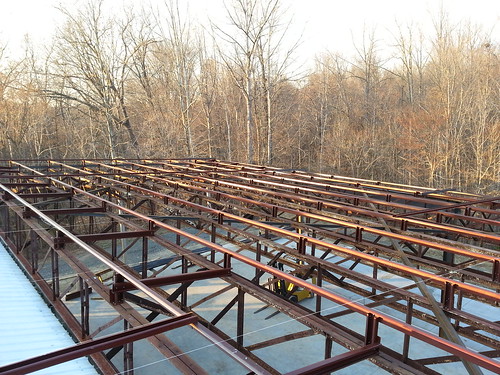
then I helped them put in bracing, there was a small bracket that needed welded.
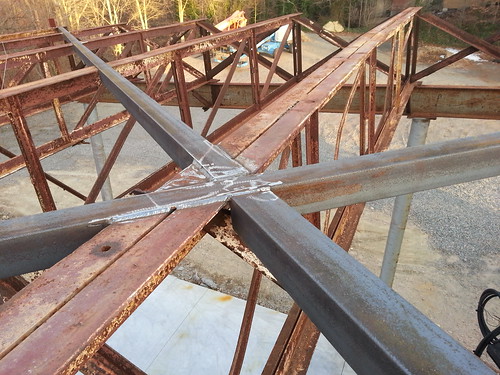
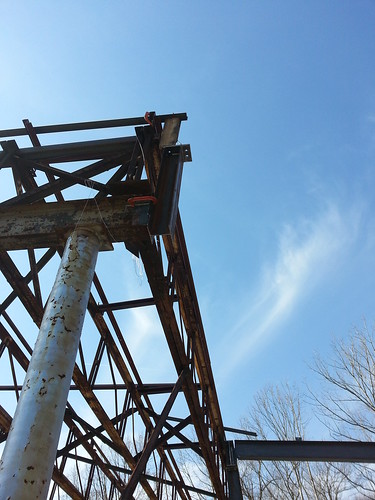
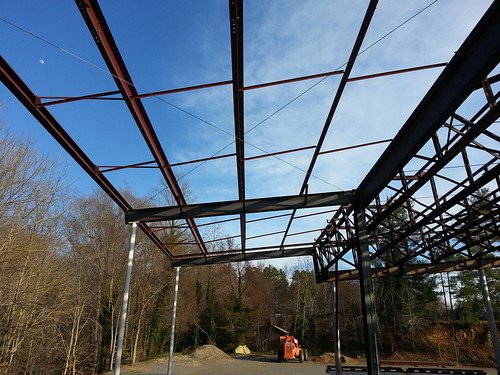
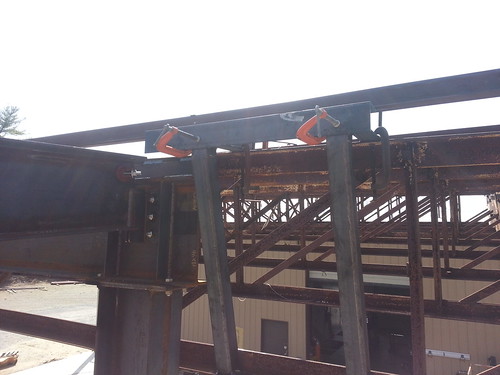
There is a lot going on in this picture !
had to find a company with a big enough press brake to bend 2 2' angles of 3/8 plate 96° . you can also see the cable that is x'ed in the center of the addition. then there is the 4" x 4" x 1/4 by 20' angle to hold the top of the wall. I didn't follow the prints, Prints called for us to get a piece of 1/4 plate bent to work there, I notched the angle brace so I didn't need that special plate bent & I could use the 4x4 angle.
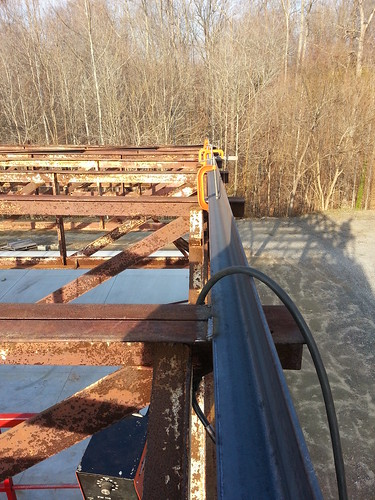
I haven't finished welding that wall brace, I want to make sure I got it in the right place. I have like 1/2 of lee way. I think I got it right though.
this next pic is of the other side & it's only 3' long
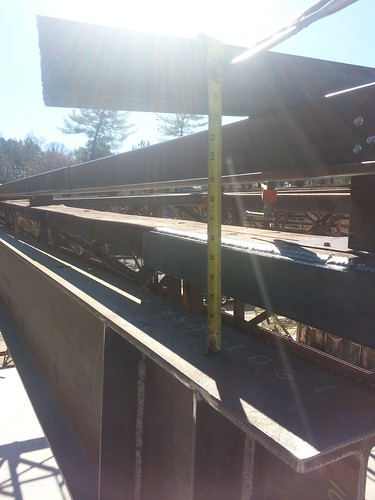
here is a few more shots
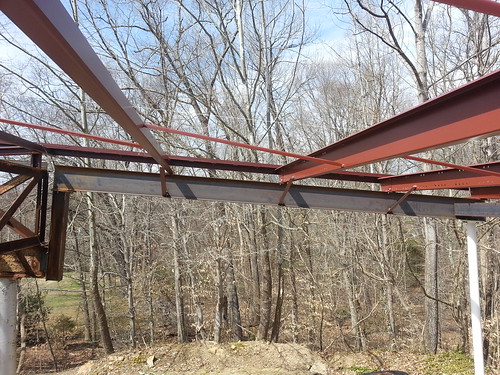
here I'm standing in the beam that will support the wall.
this beam
today insulation was delivered, the roof panels are suppose to be here Thursday, if that happens I'll put a few more pictures of what they get done.
It's Friday evening & I'm going to post a few more pictures.
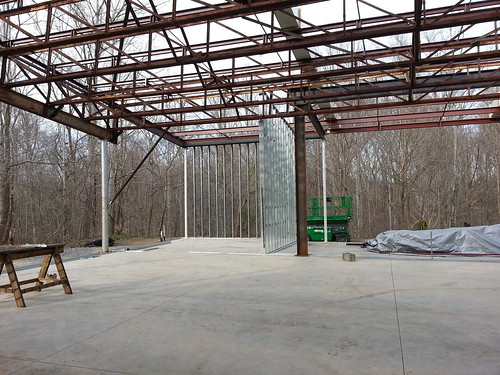
Thursday morning the stud crew showed up.
They got 2 walls up.
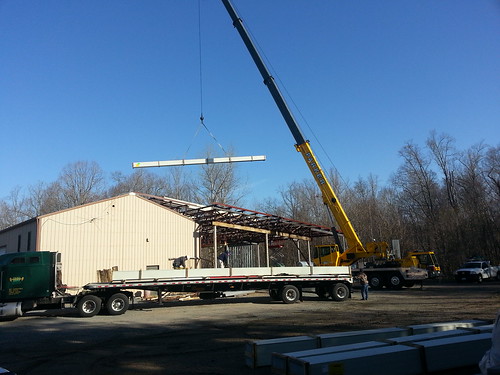
Roof Panels arrived this AM.
I have to work tomorrow. I made an error when the form boards were going up. The original poles were set out of square a little bit. I knew we were putting in an outside wall that is 1 5/8 & 6" steel studs. David liked the idea of hiding the poles & columns by putting an inner 1 5/8 x 3 5/8 stud wall in. so I want to keep that as slim as possible. well I got to close to the beam with the studs. they hit & need notched. So I have to weld an angle on the bottom to hold a stud support that would have gone in the beam.
it's a 3/4" mistake. I don't know how to post a pdf file.

