Rarely am I asked how to fix the U.S. government around here but for some odd reason Kossacks often ask me "How do you post a Photo?"
I've answered that question many times in old comments I can't find. So I'm putting together this handy diary that explains what I know about sharing photos from a Mac or a PC.
If you don't know how, it is really not that complicated but if your computer runs on XP you will need a couple of free programs to improve your photos. If you own a Mac, you are all ready to go.
Below the fold I will also try to answer the question Flickr vs. Photobucket and share a few sunset photos from tonight.
What you will need
Obviously you will need a photograph. You don't need a decent camera. Now with cellphones shooting at up to 2 megapixels and the fact that blogs are limited to smaller photos, you can post something great from your phone. You might want to post a news photo of a political figure or a pootie pic you've seen on the web.
What you will need is a third party photo host and HTML code to get the photo to post here. DailyKos FAQ offers a list of approved Web image hosting providers. Many of these services offer image hosting for free; you simply need an account with them to get started.
What you will want
Long before you upload to a photo-host you are going to want a slightly improved photo. Perhaps it is not worth the bother if you post photos rarely but the ability to crop out some half person in the upper left corner, getting the red out of eyes, removing that annoying cloudy effect of point and shoot cameras or the coldness on less than professional flash photos and fixing the contrast can really get a photo to pop.
Probably the most important tool is cropping because that ability can improve your photos before processing. By knowing that you can crop later you can shoot a little wide and not cut off something you would have wanted in your photo. Balancing out the light from what your camera recorded and what you thought you were seeing is also very useful and can even be fun to do. Point and shoot cameras in auto mode are balanced for skin tones and misses on just about everything else, so a little poking around gets you a photo that more reflects what you want to see.
If you have a Mac you don't need any additional software but I'm going to recommend something in the Microsoft instructions anyway. In iPhoto all you need to do is look on the bottom, click on edit and you are on your way. You will find on the bottom after rotate a way to crop photos with an assortment of constraints for easy use. Then there is a fun button called "enhance" where you can't be sure what will happen but sometimes the results are very good. You can undo enhance or whatever you've done last in the Main Menu by using the drop down under "Edit" and you can undo everything under "Photo." After "enhance" there is "red eye" and "retouch." The retouch is not all that useful because Steve Jobs wants you to buy "Aperture 2" but you can get out little blobs or lens flare.
The last two selections are "effects" and "adjust." Effects can make your photo black and white, sepia, create a vignette and s few other things. "Adjust" is the most useful tool on a MAC and will take a little experience to master. Start out by adding a little bit of saturation. The results can be sweet.
There are slider bars for exposure, contrast, and several other adjustments. I can't explain what each does because each slider adjust each composition differently. Once yo play with it for a while you will be an expert.
If you have a PC you are going to need another program. If you have all the time in the world then the most advanced free program is Gimp but even their homepage is a pile of nonsense. Google however did not get to be who they are by designing programs for tech gurus. Just download Picasa 3 and forget about it until you need it. When you do just right click on any photo, choose open with, scroll down to Picasa Photo Viewer and then you can select "Edit in Picasa." After that there is nothing to explain. In clear plain English everything you might want to do is staring you in the face. Try "I'm Feeling Lucky" for starters. Just remember to go up to "File" and click either "Save" or "Save As."
You might find Picasa to be a bit intrusive since it creates a Picasa photo library and sometimes during an occasional compression process other task get slowed down but once you use Picasa for a while you will enjoy that program. It is also available for MAC and does everything than the standard equipment in iPhoto will do and then some.
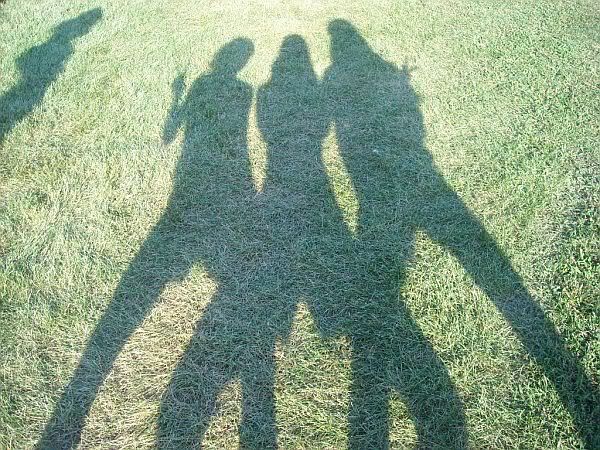
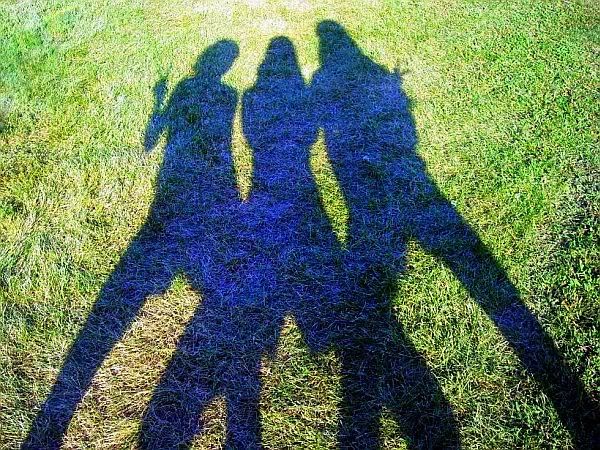
You can even feel a bit artistic in Picasa. It's all a matter of taste but I'm always playing around with photos. Here is an example of where I wanted to take a photo I came across today on Flickr. The original of three young ladies having a good time taking a picture of their shadows;
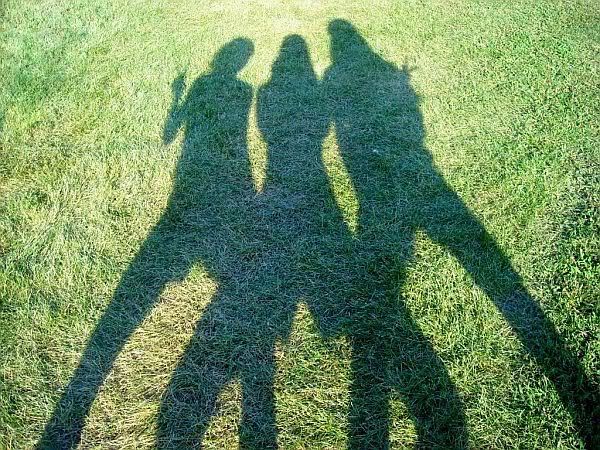
After lowering the shade in the tuning tab and then using the retouch button to take away a distraction;
Then I got to playing around. Somehow I transformed them into the Bluegrass Gals and came up with something I enjoyed doing;
Unless you are already a Photoshop expert, you will have a great time and good results from Picasa. It's all just fun and games, right?
Size Matters
Something else that should be done before uploading to a photo-host is picking the size of the photo. Formatting the size of the image is pretty easy but be careful that you keep the original size for yourself. Doing it before uploading to a photo-host helps to prevent your free account from going beyond the allotted bandwidth. If you have a good picture other people will start showing it other places and that can add up quickly.
According to DailyKos FAQ "A width of 500 is the maximum that can be accommodated without causing problems." 500 being pixelwidth and the old problem was a margin issue. 500 is as large as you can go in comments but now all that will happen by going larger is everything beyond around 506 being cut off. I don't think I've caused any problems going up to 600 in diary photos but I prefer to see the photos and with the proper downsizing, the diaries don't seem to take up much bandwidth. Some people choose a size that you will need a magnifying glass to see but I don't own one so I don't stay but 500 is just fine.
There is another bonus to downsizing before uploading, the full size picture remains your property. The worst way to get down to 500 is code. You can use <img width="500" src= ""> but that does not change the bandwidth usage and your photo might end up building in your diary or comment like the old dial up days plus it takes too long to upload to the photo sharing site.
There are some very useful HTML codes you might want. To text wrap a photo just use <img align="right" src=""> or <img align="left" src=""> If you do have a photo that you think should be seen larger there are several methods but I like to tell the reader so I post like this with links to two different pictures <img src=""><br><a href="">Click to enlarge</a>
You can also center a photo by using the code that bronte 17 just shared with me, <p class='pollControls'></p>
If you have a MAC you don't need anything extra to format the size of a photo. In iPhoto when you export photo to documents or anywhere, you can pick a size. From the drop down menu under file pick "Export" and a new window pops up. Once you change the first box called "Kind" to JPEG everything below becomes adjustable. "JPEG Quality" should be left at or moved to medium and the bottom box should be changed to "Custom." Once you do that you can set a maximum width. Pick 500 and you have a sleek little file to upload.
If you have a PC once again you will need a free program from the web. The best I've ever used was strongly suggested by Eddie Haskell after I placed my very first way too large photo essay comment in Cheers and Jeers. IrfanView is another program that needs almost no instructions. Once you install it all you need to do is right click on any photo and open with IrfanView. Then "Control" and "R" on the keyboard brings up a window with the width already highlighted. Type "500" for a horizontal composition and click "OK." "Control" and "S" brings you to a save window but you should change the name of the file or you will lose the big one. There are already plenty of other nifty things to do in IrfanView, so explore.
Flickr vs. Photobucket So now you already have a nice blog sized photo and once you pick from the accepted web pages the instructions on getting your photos to Daily Kos are very clear. Each service has a different method but they all seem to keep getting easier and easier.
The two biggies Flickr and Photobucket each have advantages and if you have one you should try the other. If you have neither Flickr is like photo sharing on training wheels. It's so simple and Flickr is also like Facebook for Photo Buffs because you can friend other photographers and you wind up with comments about your photos. If you have Flickr each photo has a choice in the middle just above each photo called "All Sizes" and then a box to copy and paste under the size you choose.
I prefer Photobucket. The first reason was that Flickr forces you to go pro too quickly. If you don't pay at Flickr you cannot have a 201th photo. When you download that photo your first one is held hostage until you pay up. I can't even count how many photos I have at Photobucket but I'm only at 65% now with several thousand photos.
The reason I prefer Photobucket now is that I don't have to open many windows to post many photos or spend much time looking for an old photo. In Flickr you need to open each photo in a separate window to copy and paste the code into a diary or comment. In Photobucket you can copy and paste from the last twenty photos in a folder or you can click "View All" at the bottom and that gives you access to whatever is in that folder.
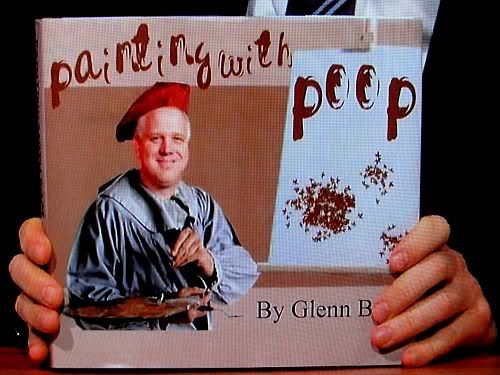
"View All" is what sold me on Photobucket because it makes old photos so easy to find. There are methods to improve searching in Flickr but you need to do that work. I can find my very first picture in Photobucket in just one click. So this is what I think of Photobucket;

But if you are new to photos get them both and see what you think.
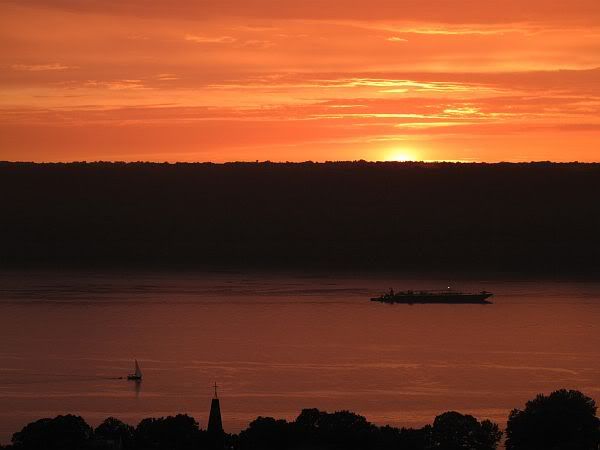
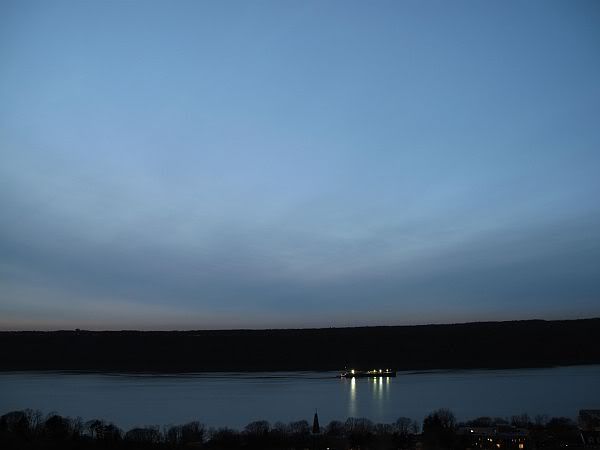
And finally while tonight's sunset wasn't exactly diary worthy with the sun being so far downriver, I still like the larger diary size that I can see, so here's my view today.
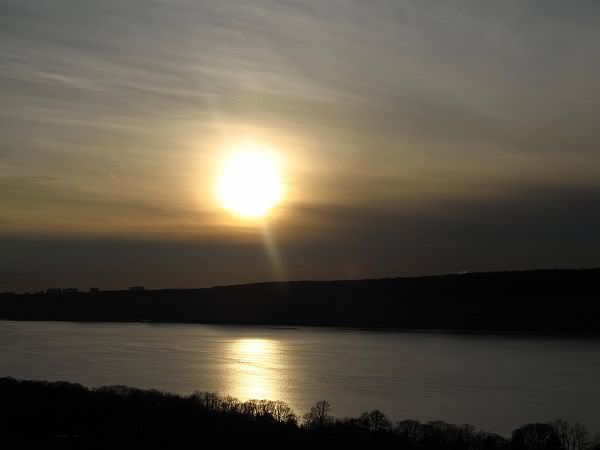
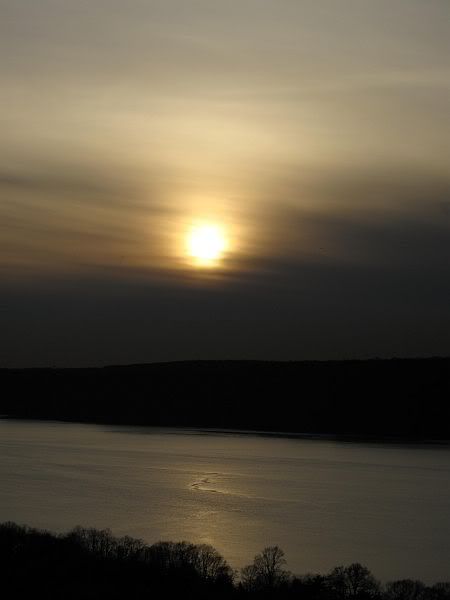
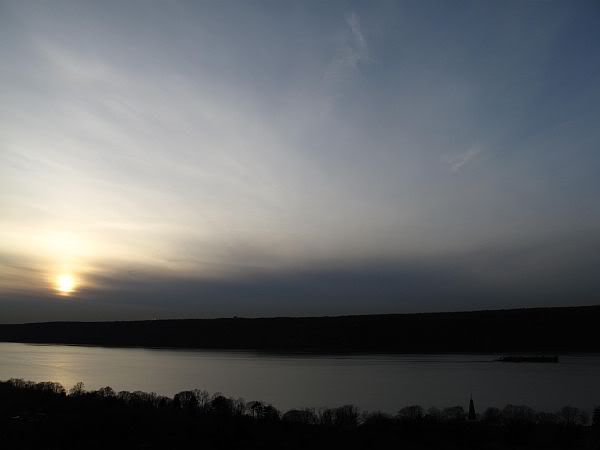
The sun set even earlier than usual today, lost in the afternoon clouds as we are getting very close to the shortest day.
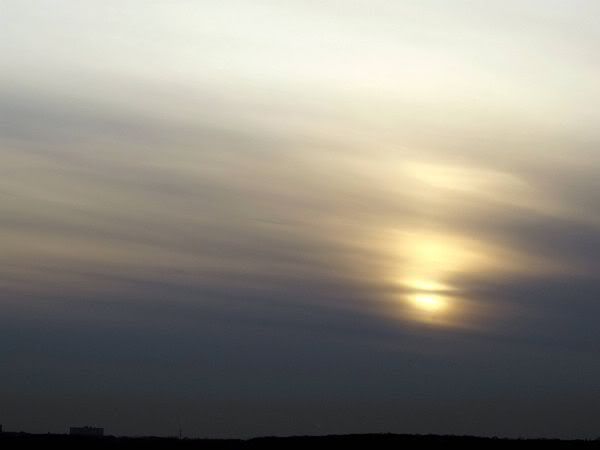

Monday is "Sun Stands Still" day and the sun will start coming back up the Hudson river.
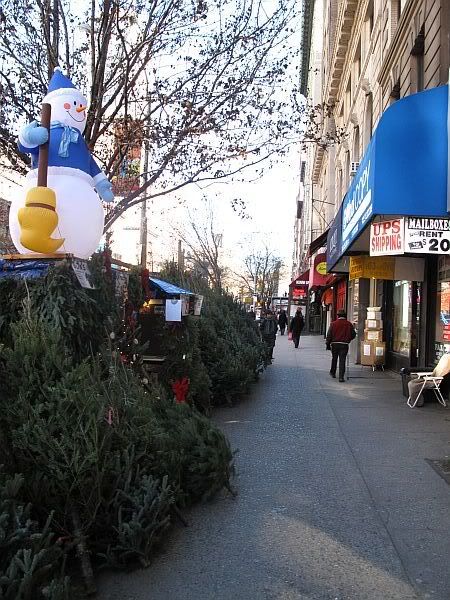
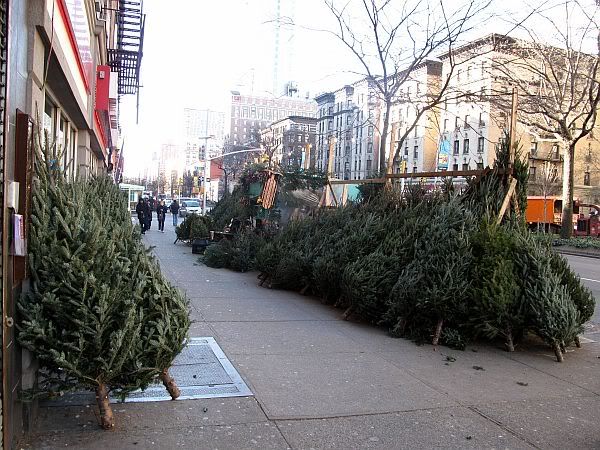
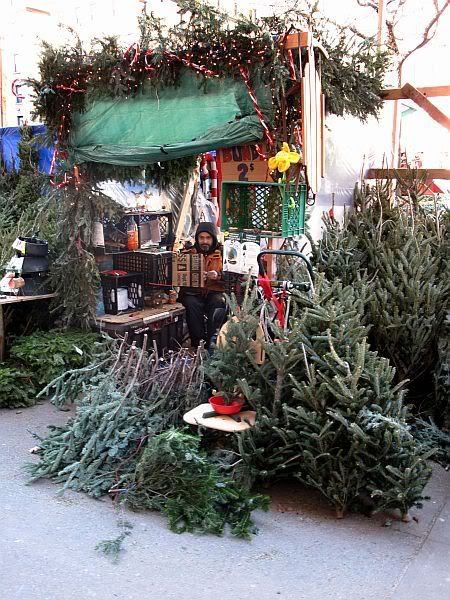
No wait I have a better finally. Merry Christmas from the streets of New York City.

Happy Holidays and I hope that this diary will be useful to you.
