It's Saturday morning, and that means time to talk about home repair again. I'm boatgeek, standing in this week for Claude while he's out of town. This is where you can learn from a cadre of amateurs and professionals about how to fix the little (and not so little) problems at your house.
After the jump, I have some info on a kitchen floor replacement we did a few months ago.
Our house was built in 1949, and we still had the original linoleum kitchen floor. True linoleum is amazing stuff--it is made of largely natural materials (cork, linseed oil, pigments, and a few other minor components), and it lasts amazingly well, even under relatively heavy foot traffic. Our floor was largely in good shape, but there were a few spots with some cracking where the subfloor shifted, and some damage at the back door. That's pretty dang good for over 60 years of service.
Since we'd had such good service from the old floor, we decided to go with the same stuff on the new. The most common brand name for modern linoleum floors is Marmoleum. We were fortunate to have a good supplier about a mile and a half away in town. We ended up choosing the color/pattern below because it matches the colors in our kitchen and has enough color and texture to hide dirt well.

Once we had the pattern chosen, the fun began. The first step was to move all of the appliances out of the kitchen. We were able to plug in the refrigerator just around the corner in the dining room. That plus the sink, microwave, and toaster oven in the part of the counter we weren't touching let us have some meals at home.
The previous owner put in a peninsula in the kitchen, which we use as eating and prep space. Because the old floor went under the peninsula, we decided to pull the peninsula out as well so that the new floor would be one clean sheet. Taking the peninsula out was complicated by the heating duct and outlet built in, and the previous owner's belt, suspenders, duct tape, and superglue approach to fasteners.
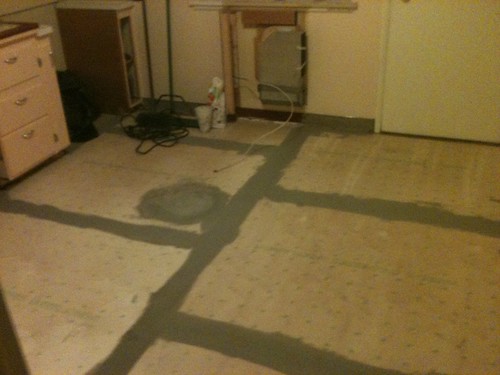
Once we had a clear floor, the installer laid down a thing sheet of underlayment plywood to make sure we had a stable base. He also recovered and re-used the cove moldings at the base of the wall. These were apparently common 60 years ago, but aren't now. They do make sweeping the floor a lot easier, so we kept them. Finally, all of the cracks were puttied and sanded down.
All of this work is to give a smooth stable base for the flooring. If the subfloor shifts at all, linoleum will crack pretty quickly. This is a great spot for a pro or semi-pro to do their own work. If you do your own, then you can choose a non-offgassing plywood, as was discussed in the comments last week.
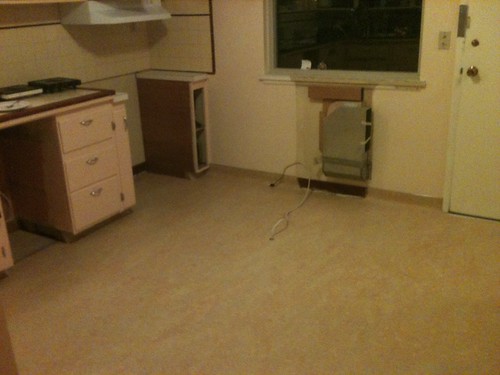
Here's what it all looked like after the subfloor was done. Note how clean the contractor left the space--it was all swept down at the end of the day so we had a clean house.
Looking toward the back door
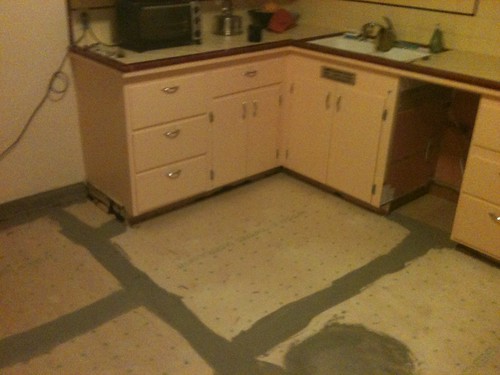
Looking the other way to the sink and dishwasher
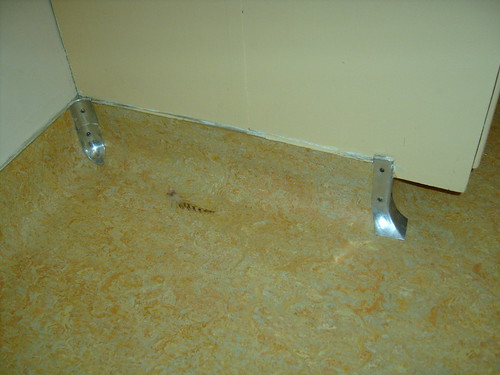
Closeup of the cove molding in the refrigerator alcove
The next step was gluing down the new flooring, which left us like this:
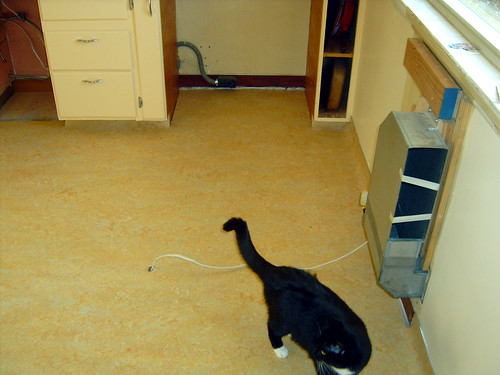
We had to put tape over the duct so the cats wouldn't climb in!
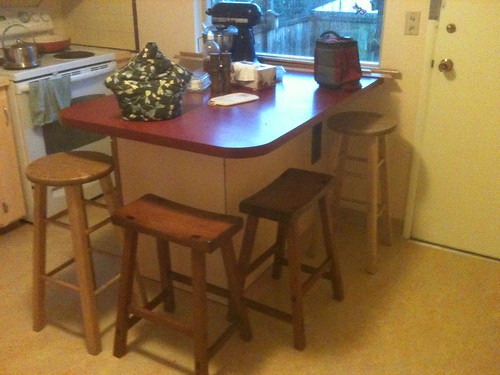
Finally, we re-assembled the peninsula cabinets and countertop. Along the way, we decided to shorten the peninsula by 12" in the cabinets and 6" on the countertop to make more space in the kitchen. It's a lot easier to get around now when people are eating at the counter. The extra cabinet section went to the local recycled building materials store. We did have to replace the panels on the end and door side of the peninsula, since they came apart as we disassembled the unit. This did make putting the new pieces in a bit easier. We also added a new GFCI outlet right by the back door.
And here's the final product with a pot of tea ready to pour:
Along the way, we repainted the kitchen, leaving us with an almost new look.
PS: Painting lesson learned the hard way: You need to scrape or sand away paint where the door meets the frame each time you re-paint, or you'll get sticky doors!
PPS: The solar panels are working away, recently ticking past 2 MWh of generation since they were installed in late September. The last electric bill was $40 for two months, down from $120 in the winter. We probably won't have a bill in the next cycle, since we should generate more than we used.
OK, Floor's open. What are you working on?
