Greetings!
If you're reading this that means I've successfully posted my first diary from Poland. It won't be about Poland... I'll save those diaries for another week. This week I wanted to share a few, gritty, low-res photos that I took this week. I built a tiny gas kiln for raku and fired it up, and tore it apart, and rebuilt it slightly taller-- well, details and nearly a dozen photos of the kilns and some pyrotechnics are below the orange hairball for those who are interested.
Before I strike a match to this tinderbox I'll just remind you that I'm just playing my usual role as host for the Street Prophets Group Friday open thread. My guff in this diary is just fluff. This is a large, yet rather quiet community in the greater Kososphere and we'd be glad to meet someone new in the comments. But, whether or not you're feeling sociable, the comments are yours to do with as you please. Share a joke, share a song, share your day, share a sandwich... it's all good.
 Welcome! And before I forget, Happy Fourth of July!
Raku is a Japanese technique of firing pottery that requires the pot to be taken out of the kiln while the glazes are still molten. They cool rpidly in the air and the shock of the sudden drop in temperature can make the glazes craze and crack. As a lad who learned about this technique in the USA I use the Western variation that requires the hot pot to be quickly placed in a container of sawdust, leaves or other such material and covered which creates a lot of smoke that combines with the glaze, stealing oxygen from it and creating a wide range of interesting effects. Because a lot of pigments are made with metalic oxides, forcing the pot to continue smoldering away in a closed space will actually get the combustion to take oxygen from the oxidized metal-- leaving behind the shiny, beautiful colors of the metals themselves.
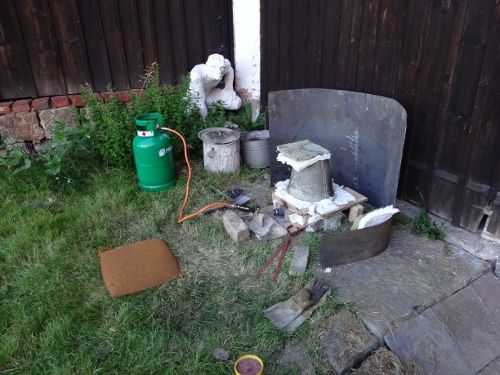
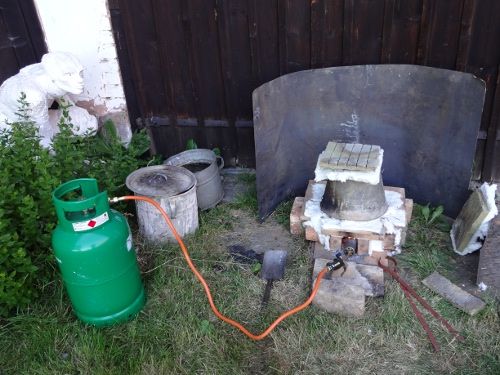
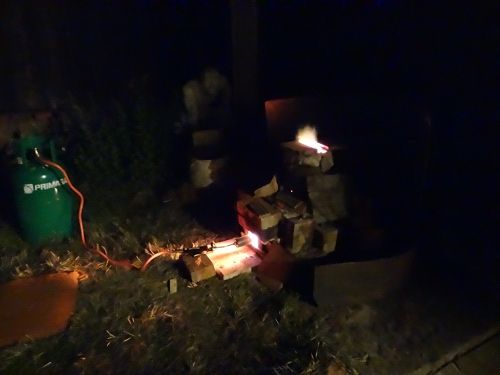
There you have a bit better detail of my basic set up. From the left, overseen by the watchful gaze of a faun statue by the English artist Christopher Vinz, we have: a 10 liter propane /butane tank with pressure safety valve. The orange gas line leads past the smoke pot and a second, smaller barrel-like pot with water in it for dunking the pot after it's done smoking. There's a little scoop in the foreground for stirring up the sawdust and leaves in the smoke pot. Circling around behind is a sheet of steel that I'll be adding to my woodfire kiln , but for a few days it served to help protect my wooden garage door from any accidents. Then there's the kiln, such as it is, and the burner already set in place. Resting on the kiln are a pair of my hastily improvised tongs for picking up hot pots. Oh, and on the right are a few scraps leftover from the building process.
Here's the front of mini kiln. The bricks and shelving are pretty standard fire-resistant fare of the sort used for making little garden grills and pizza ovens. The white fluff is inch thick ceramic fiber insulation-- sometimes I strip it into thinner sheets for wadding and crack sealing between bricks. The top of the kiln is just and old metal bucket that had a big hole rusted through the bottom. I knocked the rest of the bottom out, cut off the handle and punched about a dozen holes at various heights around it.
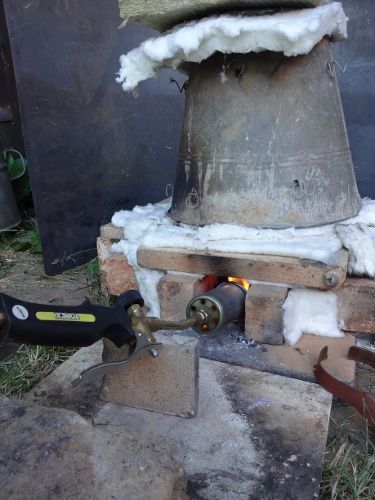
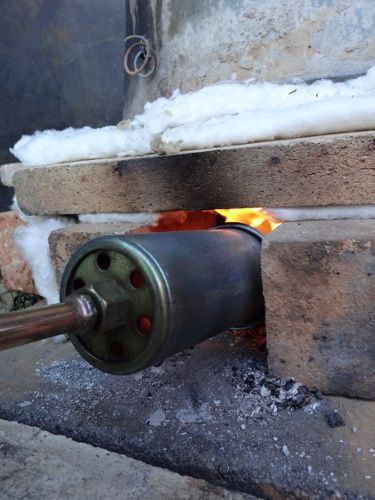
And the burner is nothing very fancy either, just a honking, wonky, fat, ol' weed burner tip. Nice to have the level and knob for more control over the flow.
Here you can see my cheap method of attaching the insulation. One of the cheapest materials are used heating coils from an electric kiln. I got these from a kiln repairman for free. I break off short sections and sort of screw them into the holes I'd punched in the barrel while gently holding the insulation against the hole from the other side. I corkscrew the pieces of coil into the insulation,but am careful not to go all the way through. Not that it would matter much, it'll hold just fine.
This kiln though-- wasn't working as I'd hoped. So the next day I tore it apart and started over.

Instead of the shelving blocking off the top I stood them on their sides to form a box then lined the entire inside with the insulation (brilliant stuff, but prickly! Wear gloves!) I used some porcelain rods for the bucket to rest on-- more stuff I was given over a decade ago.

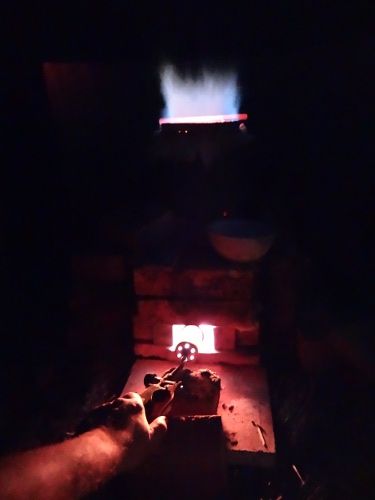
There's only really space for one pot of any size-- I did do one firing with two pieces that just kinda fit next to each othe on that small space. The other types of brick seen here are some plain chimney and wall bricks that were lying around the place-- they're just holding the sides of the box in place. Now I can set my pots into the kiln on a raised shelf that will keep them above the direct blast of the flame and still give them enough space for them to reach cone 04 (about 1050˚C).
It fired beautifully.


Next Friday I'll share a few pictures of the pieces I fired this week. One or two turned out quite well. Some are pretty, but cracked because I didn't warm them up slowly enough or cooled them unevenly.
Oof, now I've got to take a shower after a long, grimy day and get some sleep for the long drive into Warsaw tomorrow.
Mon Jul 07, 2014 at 12:23 AM PT: Thanks for stopping by to read, rec and comment! As promised I did manage to stop in on Monday to reply, but the summer rushes on. We're off to spend a few days in the country with friends in a lovely wooded valley... with probably very poor access to the internet. I probably won't be around until Friday.

